New video tutorials: Bobbles, k1 tbl, p1 tbl

Update! The pattern is now complete and ready for knitting! And it's FREE! Check it out here: Take the Trolley scarf.

I'm working on the latest Red Scarf Project pattern and in the process of the development, I have given the draft of the pattern to some intrepid test knitters. Right away they encountered a bizarre little bobble and some stitches knit and purled through the back loops of random stitches.

In an effort to A) Walk them through the techniques remotely and B) Make good on my plans to upload more videos to my YouTube channel, I present the following:
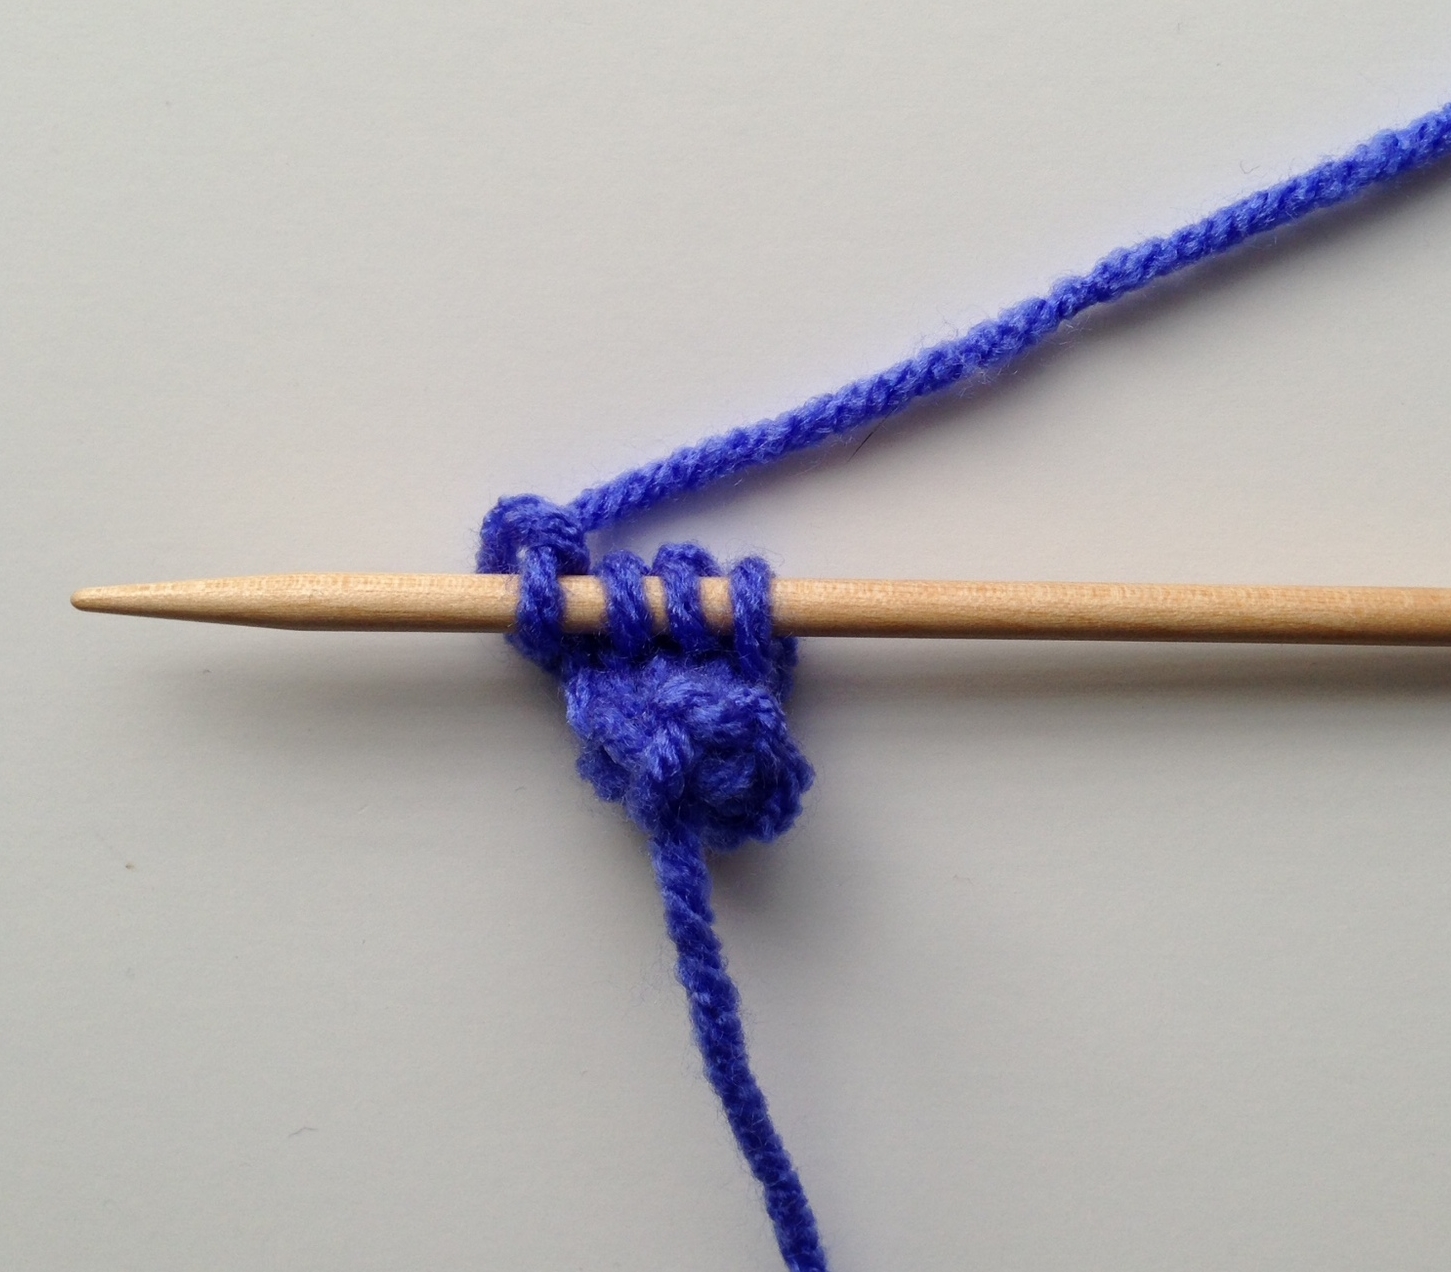
1: Make bobble

To knit my 2016 pattern for the Red Scarf Project, you need to know how to make a modified bobble. Here's how! Mb= make bobble: k1, p1, k1 all in the same stitch, then pass one stitch at a time over the first stitch.


2: K1 tbl

"k1 tbl" = Knit one stitch through the back loop. It's as easy as it sounds: you knit the stitch, but instead of knitting it through the front loop as usual, you knit it through the back loop.

3: P1 tbl

"p1 tbl" = purl one through the back loop. Sounds weird, feels even weirder, but the results are worth it!

There you have it, three new videos from KnitOasis HQ, where the filming location might have been chosen in part to include my pretty new floors.

Questions? Comments? Want to see more videos? Let me know. Now that I've edited and uploaded 3 in one day, I think I have the basic techniques down (except for sound, but then a silent video IS multi-lingual, after all) and I would love to improve on what I know while helping YOU improve on what you know as well! Thanks for watching!

Follow my blog with Bloglovin

The things they taught us. Also: Easter craft video!

I wish we had iPhones with video recording capabilities when my grandparents were still alive. I'd have a video of my Grandma drinking a Coke and telling a story about how she talked someone into doing something, or of us going out to lunch.  I'd have a video of her second husband, my step-granddad whom I always called Jimmy (that being his name and all), teaching me how to whistle through my hands. It was one of the few times I remember him taking the time to show me how to do something, and I cherish that memory. I can also whistle through my hands--just ask me.

That set of my grandparents taught me many things, none of which I have on video. Grandma was a great cook, but she was also a great finder of excellent bakeries. There were always cookies from Heinrich's Bakery in her kitchen when I came over, and to this day I've never found their equal. Both Grandma and Jimmy could tell great stories, a gift that I imagine they put to use when they would go meet up with friends at the VFW Post. I always thought this was a very glamorous part of their lives. They were a bit cantankerous at times, set in their ways, somewhat profane, and I suspect I get a lot of my bossiness from my Grandma. They were also loyal, generous, funny, and gone way too early for me.

Partly due to their early impact on my young life, I like to collect extra grandparents for my children. That sounds more ominous than it is, I promise.

There is one particular man we know who adopts as his own ALL the kids at church. He traveled all over when he was in the Navy yet settled here when he retired (since once upon a time we had a pretty awesome Navy Base in Charleston. Jimmy was even here when he was in the Navy, many years ago). He has great stories to tell, always hands out candy at Easter, and makes our palm leaves into crosses on Palm Sunday every year. Every year I try very hard to learn how to do it, too. This year, I decided I would video the process so I could practice it on my own. He was a good sport (of course) and let me.

So, here he is, Don Maddox, who along with his awesome wife Pat have been an extra set of grands to our kids (and the rest of the kids at our church, for the last 20 years or so), making a Palm Leaf Cross.

Let me know if you try it!


Follow my blog with Bloglovin

Tutorial: I-Cord, I love you.

I-cord is one of those knitting tools that make me happy I learned to knit. I realize it's not everyone's favorite thing to knit, especially when one is called upon to knit 3 feet of it, TWICE, when making bag handles, but I really like it. I like the way it starts out flat and then becomes 3-dimensional, a little like turning a heel. I like the way it's mindless knitting and one minute you look up from it and when you look down again, it has grown, as if by magic. I love that you can knit it by itself or use it as an edge on a finished project like a blanket. I love that you use double-pointed needles but knit in the round in a way that is unexpected. I just love it.

Today, I'd like to show you how to knit a simple I-cord.


All of the above examples use a cast on of 4 stitches. Obviously, needle size and yarn weight make a difference in the size of your i-cord.

Using a double-pointed needle of a size appropriate for your yarn, cast on 4 stitches (or whatever your pattern calls for). (fig. 1)

fig. 1

fig. 1

Knit one row, then, instead of turning your work so that the working yarn is coming from the right side of the knitting, slide the work down to the other point of the double-pointed needle. Your working yarn is coming from the left side ON THE BACK of your work. (figure 2) Knit one row, then repeat the process of sliding the work down. The tricky bit is to always remember to slide the work and not turn the needle around. With some practice you'll get the rhythm down.

fig. 2

fig. 2

fig. 3

fig. 3

After you've knit a couple of rows (fig. 3) you'll want to give the bottom of your work a tug, pulling it down away from the needle. See what happens when you do that?

Magic. (fig. 4)


fig. 4

fig. 4

You'll notice that your cord looks like a small diameter tube of stockinette stitch fabric. You can also make it look like garter stitch by alternating knit and purl rows. When you have reached the length you need, bind off. If you are attaching the cord to make it a bag handle, leave a long tail when you cut the yarn and use it to sew the cord on where it needs to go.

It really is as easy as it sounds and it's a great tool to have in your Technique Tool Kit.

For you seasoned I-cord pros, what are some of the ways you've used I-cord?

Follow my blog with Bloglovin

Tutorial: Add a Zipper and Lining to Your Knitted Bag

Y'all. I am not a seamstress. I have great respect for them, but I am not one of them. I have always wanted to learn to quilt, no doubt due to the genetic code relating me to this marvelous quilter. When I realized that sewing was not really my thing, I decided I would knit quilts, which is crazy and, as it turns out, totally do-able.  That, however, is a blog post for another day.

Today is about using the skills you have to make things. Not being a seamstress, adding a lining to a knitted bag first sounded pretty daunting, but all it takes is few simple steps, some fabric, thread, a sewing needle and a zipper. If I can do it, so can you!

This applies to those of you who might purchase a certain pattern available today for the first time, or anyone who has ever knitted a bag and thought, If I don't line that, I'm in big trouble.

Step 1: Knit your bag. You'll want to have taken care of any blocking or weaving in ends before you get to the zipper + lining stage. The bag shown is a small, flat accessory bag, but you can add linings and zippers to larger bags as well. Just size it all up!

Step 2: Add a zipper like this:

Step 3: Sew a lining by hand (or by machine, if you have access to a teenager with a sewing machine and the mad skills to use one). In some cases your lining fabric might need to be trimmed to size. If that fabric is hand-dyed Shibori tie-dye indigo, save the scraps and make something small.

Step 4: Add the lining to the bag. Remember how you folded down the top edges of the lining? Pin it in to the bag and sew to the zipper so you will have a hem in one easy step (along with a lining sewn to a zipper). The end of the zipper (they always seem too big, but I might be overcompensating when I buy them. Hush.) will need to be tucked down in between the bag and the lining. Out of sight, out of mind.

IMG_0075_2.jpg

Step 5: Enjoy! I also add a tassel or zipper pull to the end of my zipper. Some choices in that department include: a tassel, some i-cord, a crochet chain, and a braid. Also a post for another day!

I hope this brief, very amateur foray into sewing was helpful for you. My apologies to the talented seamstresses out there who might have cringed through this tutorial, but this is for those of us who knit our quilts, remember?

The patterns for the bags pictured will be available soon in my Ravelry shop, if you haven't already bought yours at SAFF!

Follow my blog with Bloglovin