The Knit Inn, 2015 Edition

For several years now I've been making the trek to Greenville, SC to attend the SC Knitting Guild's Knit Inn, and it's always a blast.

This year I taught two classes: The Vintage Winter Shawl and the Charleston Indigo Scarf. The only pic I snapped of the Winter Shawl class was Claudia and her tangle:

Poor Claudia!

Poor Claudia!

As you can imagine, with 250 knitters over the weekend, there were a lot of tangles.

I was treated to two completed Winter Shawl versions, which made me enormously happy.

Debra (top left) and Flo with their Vintage Winter Shawls

Debra (top left) and Flo with their Vintage Winter Shawls


I was a little nervous about my Charleston Scarf class, since it was only the second time I had taught it and I wanted to make sure we covered all the necessary stitch patterns before I turned the students loose. I needn't have worried, because they were awesome students who rocked it, big time! I can't wait to see how their finished scarves turn out :)

Charleston Scarf class and their great swatches!

Charleston Scarf class and their great swatches!

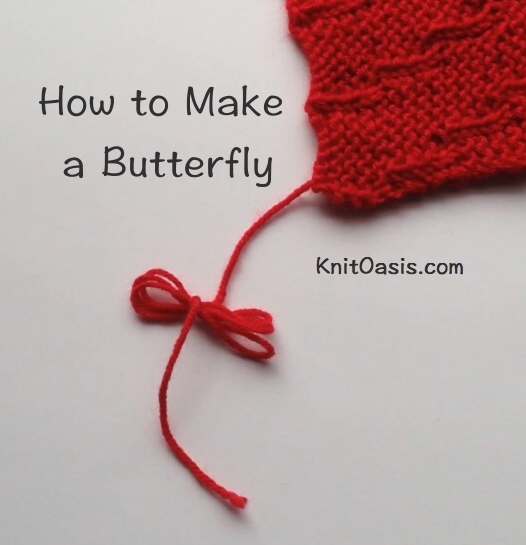
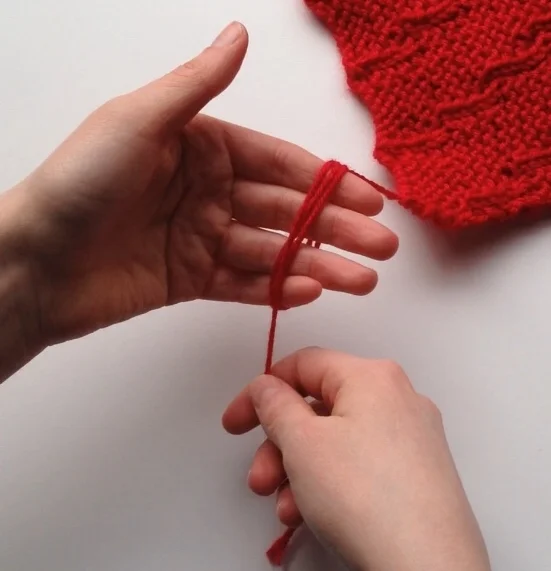
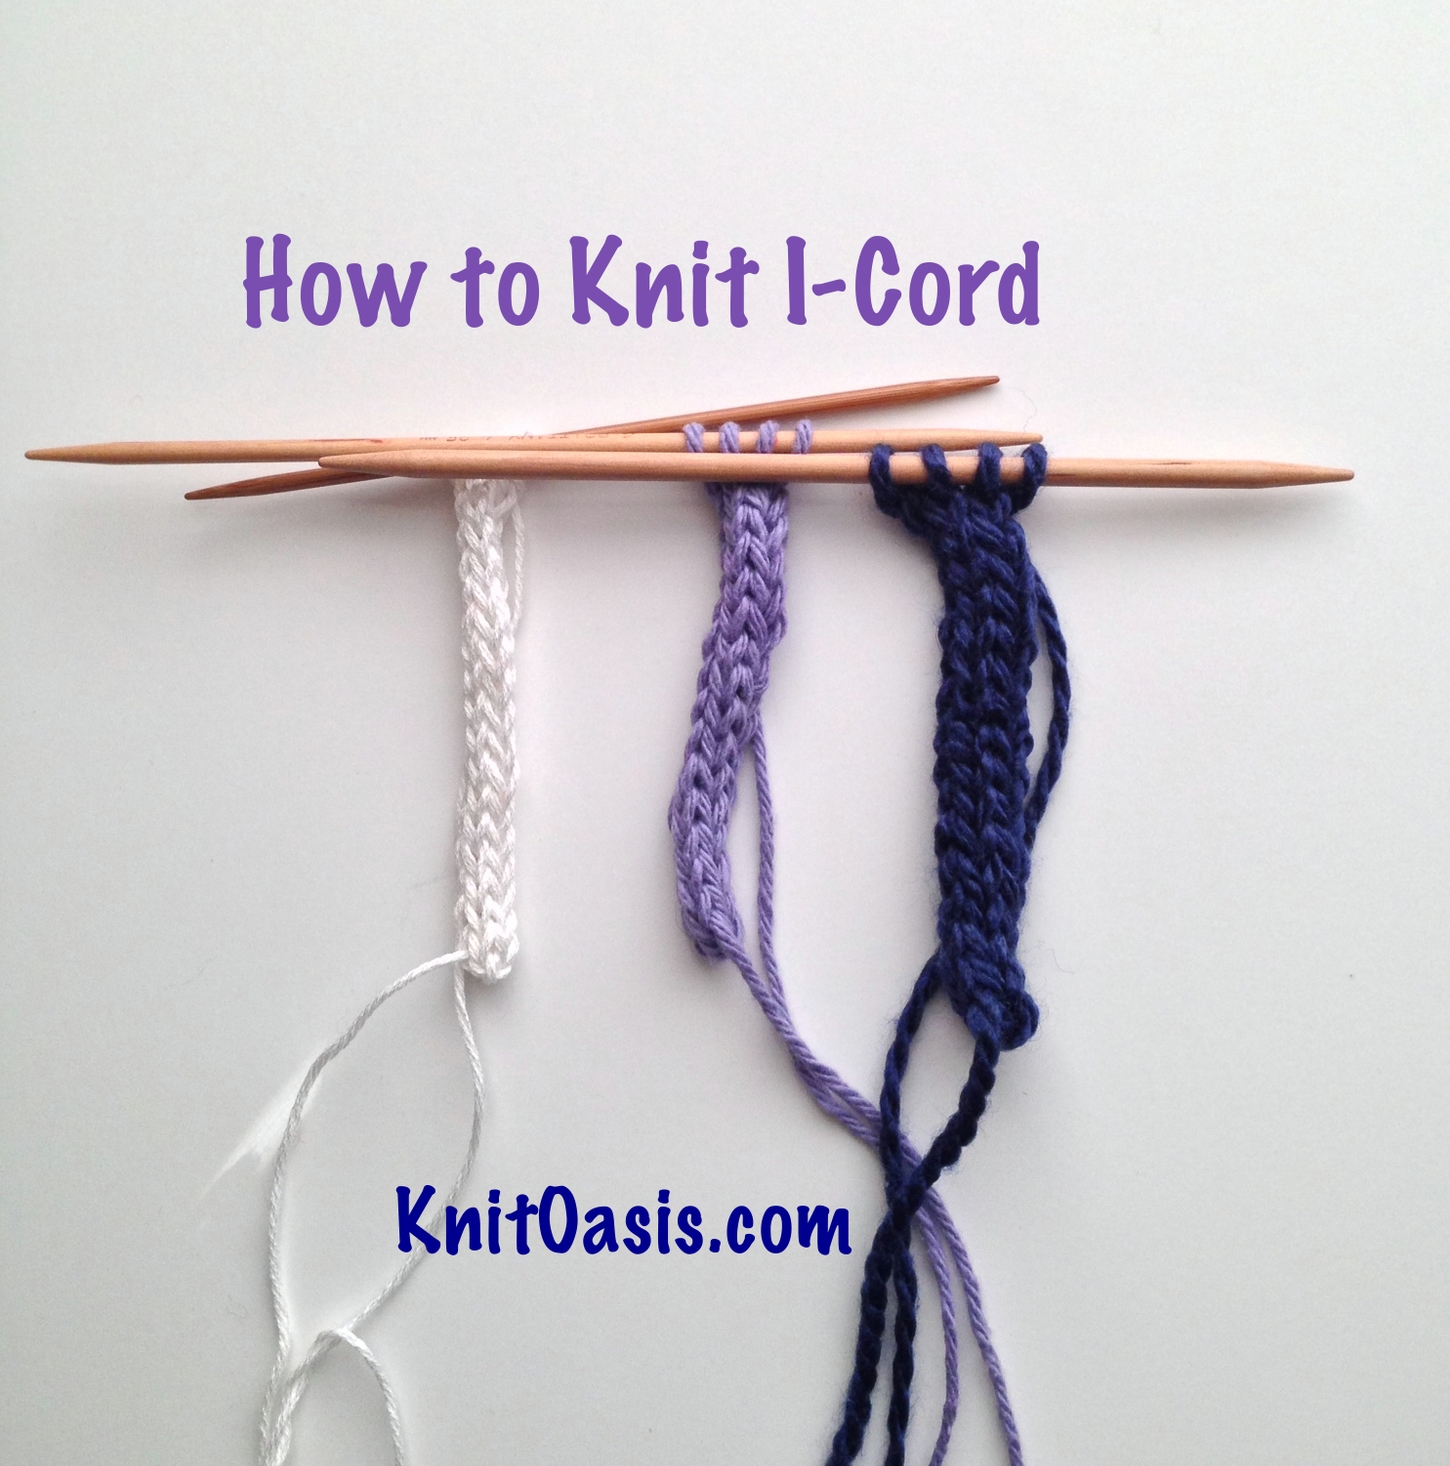
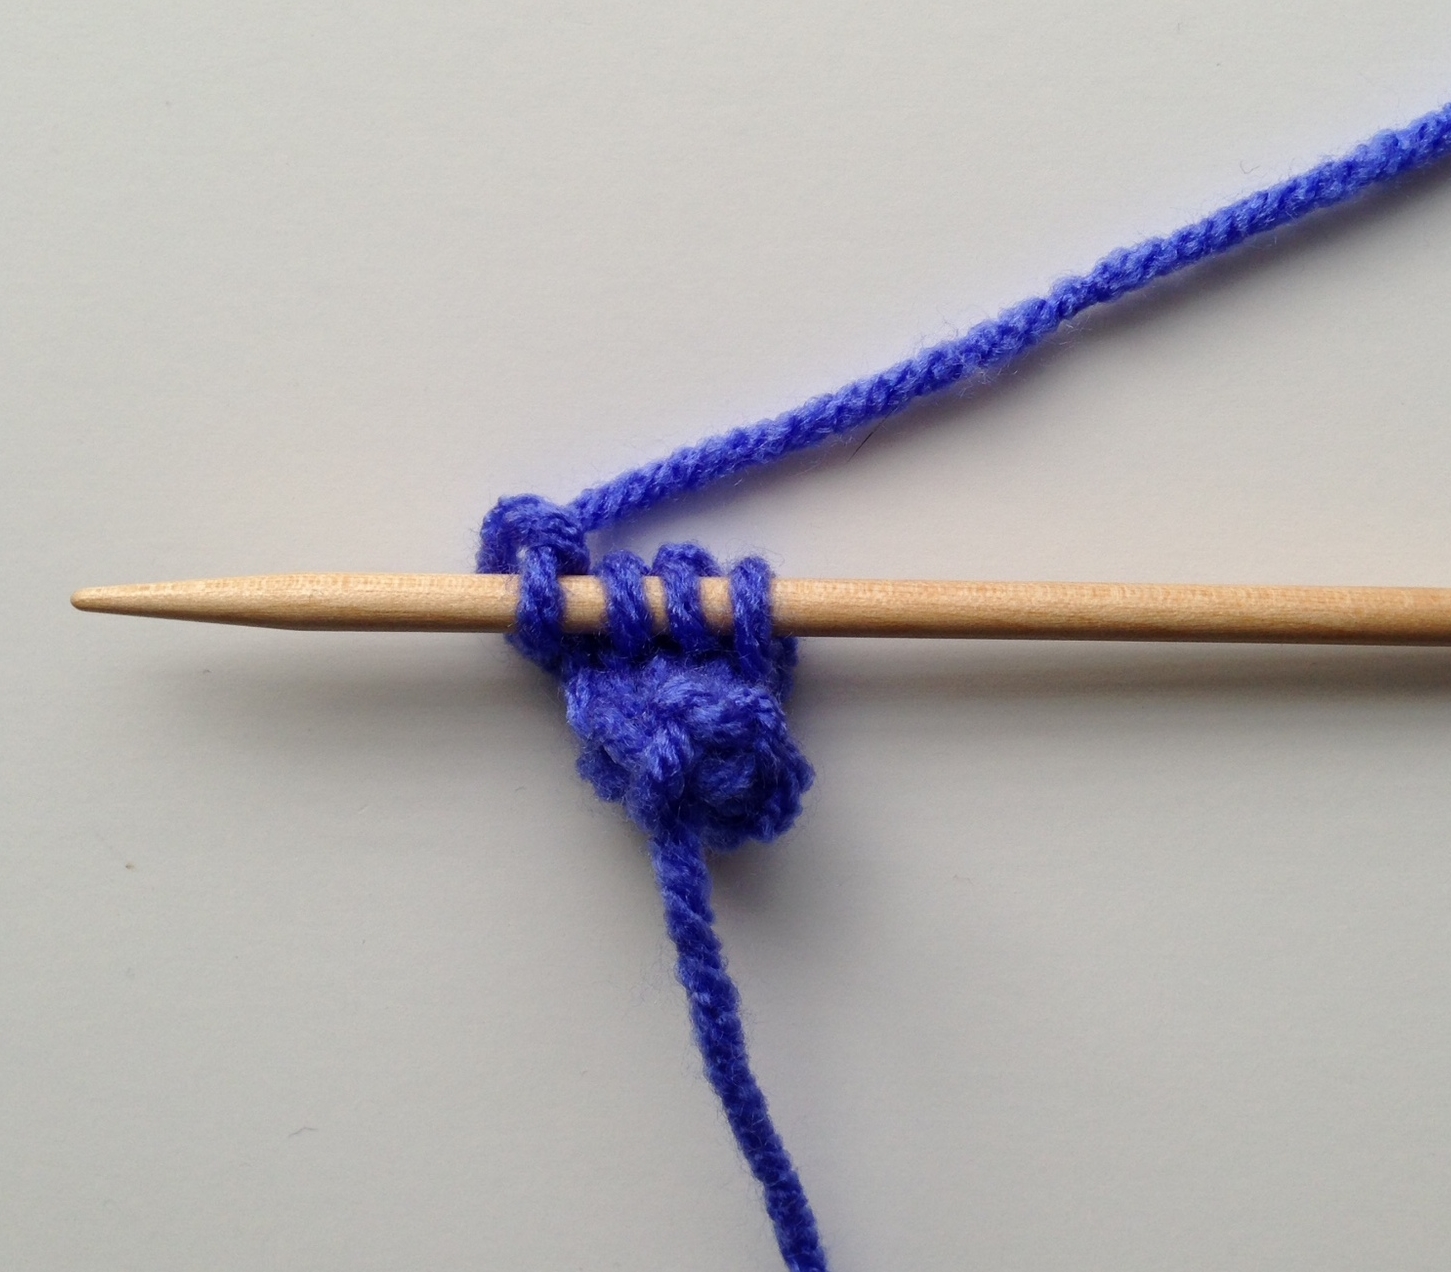
I took a couple of classes, including one on I-cords tips and techniques that was amazing. I also ate too much, knitted some, ripped out some more, and talked a LOT.

Our Charleston contingent was fun as always (you really can't take Micci anywhere, even if she looks really tame in the photo!)...

Charleston area knitters, road-trippin'.

Charleston area knitters, road-trippin'.

I got to see Sandy Huff, which is always a treat. And when I admired Gerri and Carol's amazing bags, I was told they made those in one of her classes. So much awesomeness.

She's really not that short!

She's really not that short!

Gerri (l) holds the distinction of being in all the classes I was in this weekend. I told her I am now spoiled and it will never be the same without her and we should plan accordingly next year. Carol (r) and I were only in one class together, but i…

Gerri (l) holds the distinction of being in all the classes I was in this weekend. I told her I am now spoiled and it will never be the same without her and we should plan accordingly next year. Carol (r) and I were only in one class together, but it's always fun when she's around.


I missed getting pics of a lot of people, including my friends Dianne (who introduced me to someone like this: "I admired her shawl one year and we've been friends ever since!" I love it.) Pat, Teri and Becky (whom I've known since high school, before I was a knitter!). Also, Tom, who freely shared some amazing tips with me for future blog posts, Krista, my new friend from Yarn and Y'all in the 'ville, Starr, who took a class from me and has been so sweet and encouraging to me ever since...and a cast of thousands, give or take a few.

I'll leave you with this--two of my biggest cheerleaders, Flo and Michele. They befriended me at a Knit Inn years ago (before I knew everybody) and have kept up with my exploits during the year between Knit Inns ever since. They're both like favorite aunts that you can talk to about anything.

Overall, it was wonderful, as always! Knit Inn weekend always leaves me tired but inspired and so very grateful to know so many lovely talented people.

Follow my blog with Bloglovin

Simple Knitting Tip: Make a Butterfly

Every knitter should have a secret weapon; mine is my daughter. She does just about everything well and offers terrific input for me on things ranging from outfits to blog posts to interior design. When she moves out, I will be getting a GoPro camera for each of us so I will always be able to get her opinion on whatever is happening around me.  I'm kidding.  Sort of.

In the meantime...one of the ways she is invaluable to me is that she taught me to make a butterfly. I am notorious for predominantly using the long-tail cast-on and as such tend to end up with a frightfully long tail. (All those little tricks to measure how much tail you'll need to cast on? No, I don't use them. Whew! Honesty feels good.) A few years ago, seeing my ridiculously long tail getting tangled in my knitting, she made me a butterfly. 

Here is what you do:

The completed butterfly. Pic A

The completed butterfly. Pic A


Step 1:  Tie a slip knot in the end of the tail, making a loop:

Pic B

Pic B

Step 2: Take the yarn nearest your project and wrap it around your fingers (like winding up the outdoor extension cord around your arm, but smaller and with fewer bits of debris) until you have wound it all up:

Pic C

Pic C

Step 3:  Slide the loop you made with the slip knot over the wound up yarn and pull the tail, tightening up the slip knot over the yarn.

You'll have pretty little butterfly that keeps your yarn out of your knitting and won't get tangled so easily with your working yarn. Nifty, ain't it? (pic A)

If you'd like to see it in motion, here's a video of the entire process:

Yes, that's right--our first video here at KnitOasis.  It's not something I've tried before, but I figured it would be so much easier just to SHOW you how to do this little trick, rather than tell you. Let me know what you think!

Follow my blog with Bloglovin

Big 10 Knit-a-Long: Announcing the Charity!

I'm so excited! I just got off the phone with the Carolina Youth Development Center here in Charleston, and y'all, when I say this is the perfect fit for our Big 10 Knit-a-Long for Charity, I am not even kidding! (You can tell how excited I am about it because I sound all Texan...)

In case you're just now hearing about the Big 10 Knit-a-Long, here's what's what:

Last month I kicked off a year long celebration of my 10 year knitting anniversary--a charity knitting project that knitters (and crocheters) anywhere can participate in. Using the format set up by Warm Up America, we will be making afghan blocks that will then be sewn together to make blankets. Each block will need to be 7" x 9" and we need 49 blocks per blanket, which we will create during our sewing up party at the end of the year. (For sign up form and FAQs, read this post. For the first 2 free patterns, read this one. If at any time you need to catch up with all the Knit-a-Long action, just type in "knit-a-long" on the search bar at the bottom of this page.)

Until this afternoon, we had everything necessary to make this a great project: patterns, knitters, and tons of enthusiasm. What we needed was a charity and I'm delighted to tell you that now we've got that, too!

The Carolina Youth Development Center is celebrating an anniversary this year as well, but theirs is A LOT more impressive than mine! They were founded in 1790 as the Charleston Orphan House and have been helping kids for 225 years (!!!).  As I have studied the history of this area, I have heard about the Orphan House and some of the great work they have done over the years, providing housing and more for children in need. And now we can partner with them! I did say I was excited, right??

You're going to be hearing more about this awesome organization over the coming months, but for now let me leave you with this...they have a wish list on their website, with current and ongoing needs for the kids who come through the houses they run. At any given time they can have 20-30 children between the ages of 2 and 18, and they always like to give them blankets, pillows, hygiene items (bar soap, toothpaste, body wash) and basics like underwear, socks and a current big need--plain white t-shirts in any sizes. Even if you're not a knitter, you can help! If you would like to donate things to the Center, I will take wish-list items by there as often as necessary. Contact me through this website or the Facebook page and we'll arrange to get your donations from you.

And of course, you can knit! The next pattern(s) will be available soon. In the meantime, the link above has the first two patterns. If you crochet or want to just knit your own patterns, make sure they measure 7" x 9" and are knit from easy-care acrylic. I have just recently tried KnitPicks Brava worsted weight 100% acrylic and I adore it, but you can use any acrylic you have handy.  Holler if you have any questions, and honestly, isn't it great to be a knitter?

Follow my blog with Bloglovin

Tutorial: I-Cord, I love you.

I-cord is one of those knitting tools that make me happy I learned to knit. I realize it's not everyone's favorite thing to knit, especially when one is called upon to knit 3 feet of it, TWICE, when making bag handles, but I really like it. I like the way it starts out flat and then becomes 3-dimensional, a little like turning a heel. I like the way it's mindless knitting and one minute you look up from it and when you look down again, it has grown, as if by magic. I love that you can knit it by itself or use it as an edge on a finished project like a blanket. I love that you use double-pointed needles but knit in the round in a way that is unexpected. I just love it.

Today, I'd like to show you how to knit a simple I-cord.


All of the above examples use a cast on of 4 stitches. Obviously, needle size and yarn weight make a difference in the size of your i-cord.

Using a double-pointed needle of a size appropriate for your yarn, cast on 4 stitches (or whatever your pattern calls for). (fig. 1)

fig. 1

fig. 1

Knit one row, then, instead of turning your work so that the working yarn is coming from the right side of the knitting, slide the work down to the other point of the double-pointed needle. Your working yarn is coming from the left side ON THE BACK of your work. (figure 2) Knit one row, then repeat the process of sliding the work down. The tricky bit is to always remember to slide the work and not turn the needle around. With some practice you'll get the rhythm down.

fig. 2

fig. 2

fig. 3

fig. 3

After you've knit a couple of rows (fig. 3) you'll want to give the bottom of your work a tug, pulling it down away from the needle. See what happens when you do that?

Magic. (fig. 4)


fig. 4

fig. 4

You'll notice that your cord looks like a small diameter tube of stockinette stitch fabric. You can also make it look like garter stitch by alternating knit and purl rows. When you have reached the length you need, bind off. If you are attaching the cord to make it a bag handle, leave a long tail when you cut the yarn and use it to sew the cord on where it needs to go.

It really is as easy as it sounds and it's a great tool to have in your Technique Tool Kit.

For you seasoned I-cord pros, what are some of the ways you've used I-cord?

Follow my blog with Bloglovin