
Stuff you need to know: The Slip Knot
I like to cut corners and save time whenever possible, so when I started knitting and was shown how to cast on using the long-tail method WITHOUT a slip knot, I knew that was tailor made for me. In fact, I avoided making slip knots for YEARS. It's a little weird now that I think about it, but there it is: Slip Knot Avoidance. Perhaps it stemmed from doing so wretchedly on my knot tying badge in Girl Scouts as a child...(ha! and now look at me, a knitting instructor. Irony!)
Fast forward to teaching classes where slip knots are necessary, and all I could think was, "How on earth can I do this as simply and easily as possible, since I want to make sure my students truly get this...and not become People Who Avoid Slip Knots??" I experimented with a few different ways to walk someone through the steps and tried them out in my classes until we had light bulbs coming on over every head (Eureka!).
Why include this super basic, not that hard skill in my Simple Knitting Tips series? Every time I teach someone how to make a slip knot, even knitters who think they sort of know how to do it, I hear the cry of their hearts, the relief in their voices and the satisfaction of finally getting it. And that my friends, is music to my ears.
How to make a slip knot
Step 1: Pick up the yarn. Left or right hand--you decide.
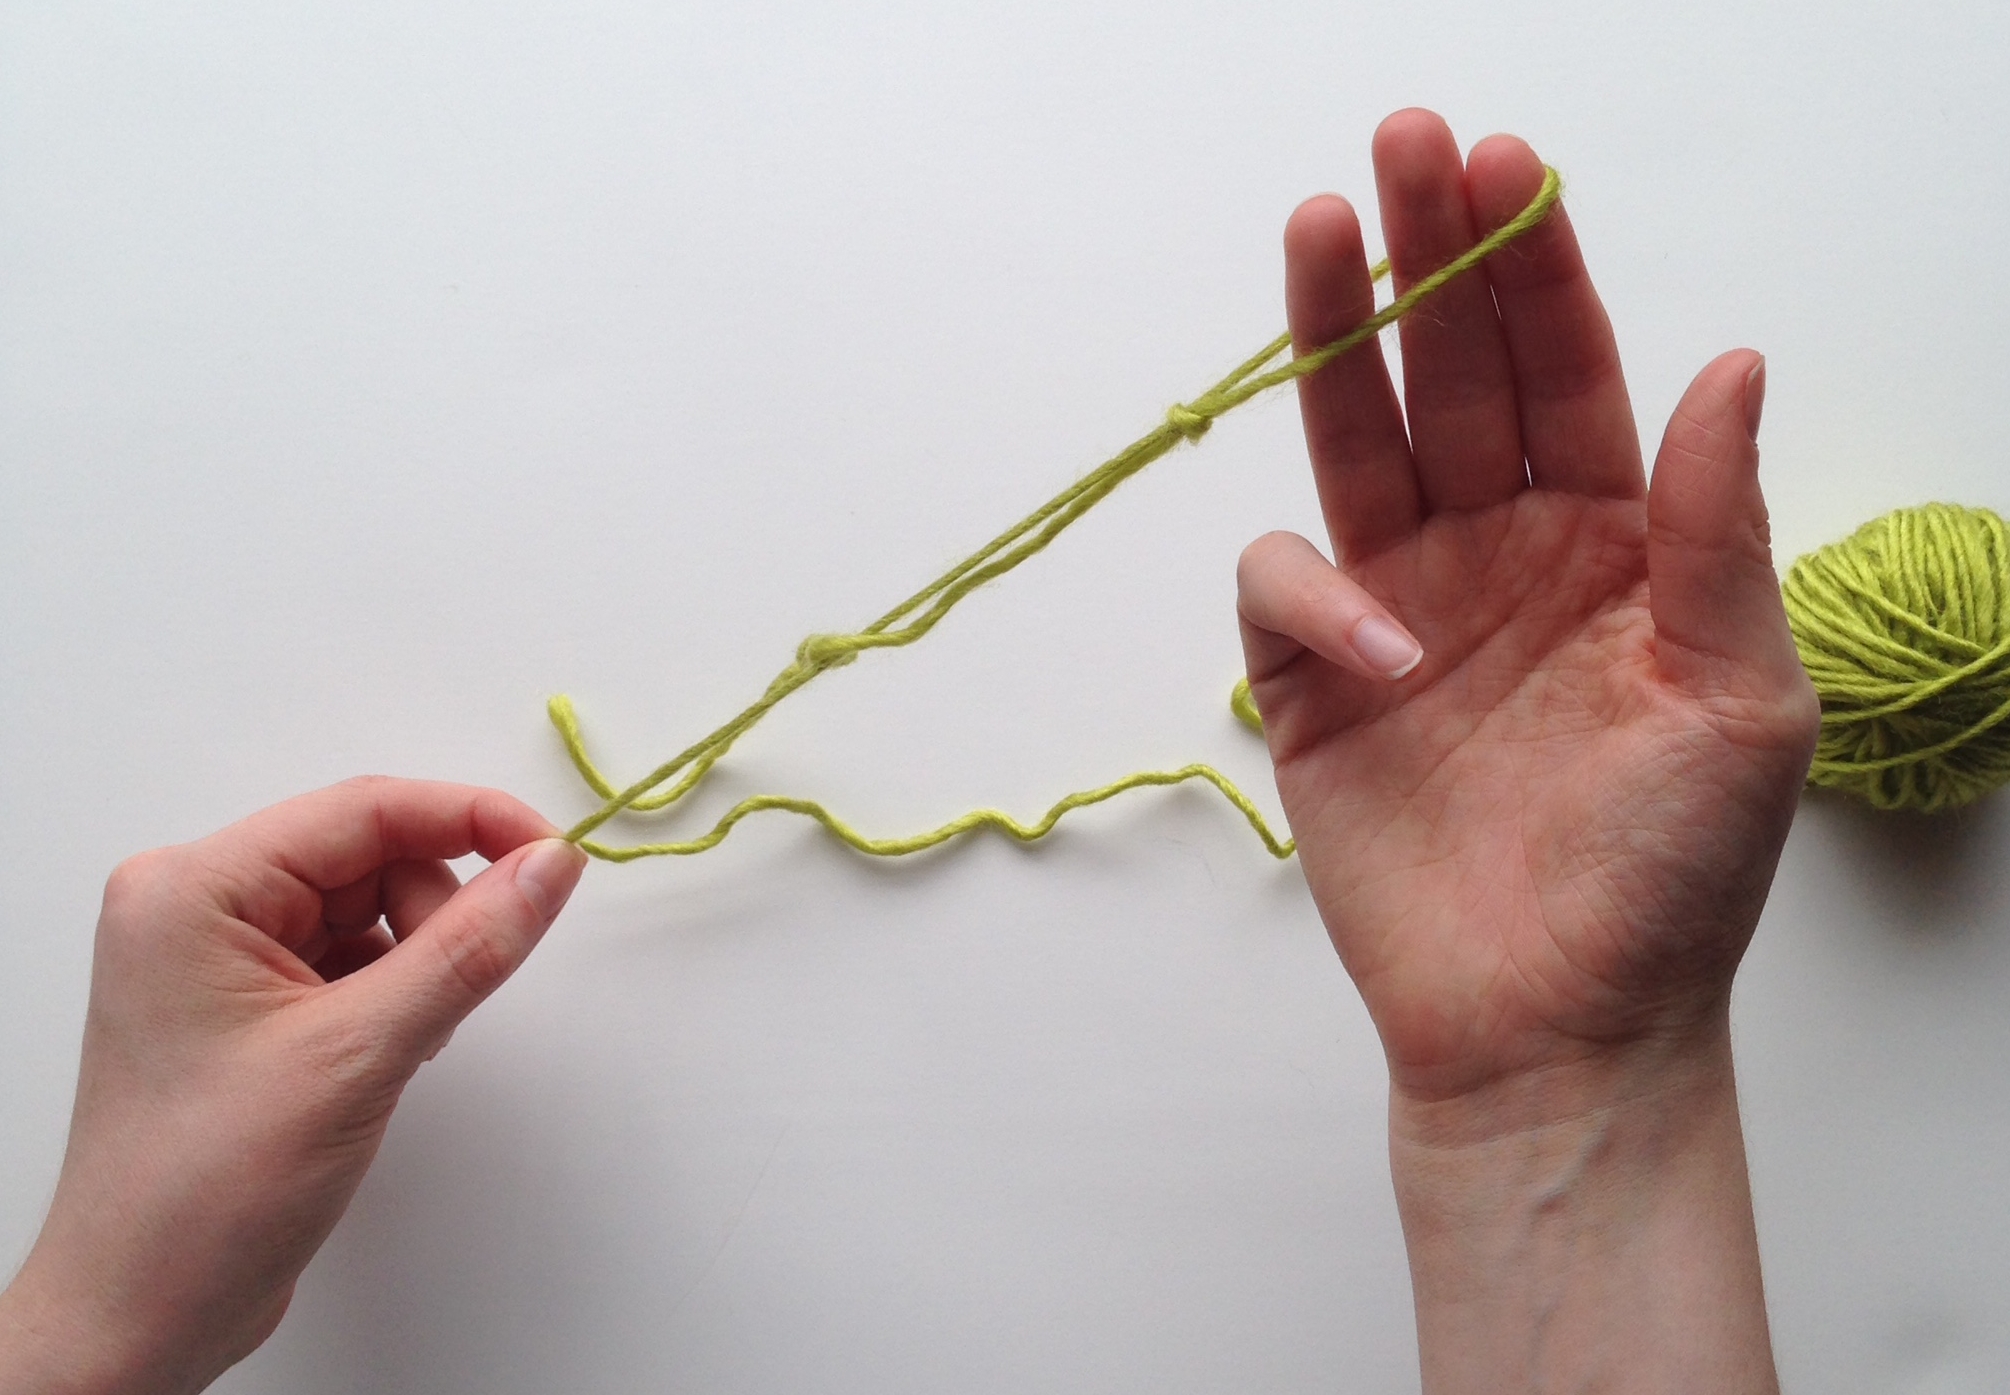
Step 2: Place the tail end of the yarn across your palm, with the working end of the yarn looped over your fingers, palm facing you.

Step. 3: Pick the working yarn up and loop it toward you over your palm. At this point, hold down the tail yarn (against your palm) with your thumb. The tail will be on your palm and the working yarn that you just looped will be on your fingers. Or if you prefer-->the tail end will be closest to your heart ♥︎ . The yarn is completely encircling your hand, but only once.

Step 4: On the back of your hand, cross the working end over the tail end. Tuck the working end under the tail yarn, bringing that loop through the loop that encircles your hand.


Step 5. Holding the new loop you just made, remove your fingers from the first loop you made around your hand. With the thumb and forefinger of your left hand, you'll be holding the tail end of the yarn. With the thumb and forefinger of your right hand, you'll be holding the new loop. (If you're making the slip knot on your right hand, using your left to work the yarn, just reverse it all. It works either way!)

Step 6: To tighten your slip knot, pull the tail end with one thumb and finger while keep your other hand in the loop.
You should now have a slip knot that can be loosened or tightened with the working end of the yarn.
From here you can cast on stitches for something wonderful!